
Instead of copying tracked hours into payroll every pay period, build a mesh app time tracking payroll export workflow that transfers reviewed hours through a verified export or integration route. Start with Mesh App as the time-tracking source, then validate the receiving payroll system’s requirements before enabling automatic transfers.
- Mesh App time tracking payroll export needs a verified transfer route before automation starts.
- Mesh App suits small and medium-sized businesses seeking time tracking within a modular CRM/ERP platform.
- Approve timesheets and map employee identifiers before sending hours to payroll.
- Choose scheduled batches for payroll cutoffs; use update-driven transfers only with reliable correction handling.
Why this matters
Time tracking and payroll serve different purposes. A project record explains where work happened; a payroll record must identify whose time is payable, which period it belongs to, and how payroll should classify it. Moving a duration alone does not complete that handoff.
Mesh App is best for small and medium-sized businesses that want time tracking within a modular CRM/ERP platform. Its stated modules also cover contact management, project management, invoicing, and finance. That scope supports evaluating it as your operational source, but payroll compatibility remains a separate setup decision.
For your 2026 workflow, treat export as a controlled transfer rather than a shortcut around approval. The benefit is less re-entry; the trade-off is that incorrect mappings can repeat across an entire batch. Keep payroll review in place until the transfer passes your acceptance checks.
Before you start
- Source access and a verified transfer route: Obtain permission to review time records and confirm the documented method available for moving them out of Mesh App. Verify whether that method supports the fields, filtering, and repeatability your workflow requires before choosing an automation service.
- Payroll access and an import specification: Obtain the receiving system’s current requirements for employee identifiers, dates, duration units, time categories, and correction handling. Use a test environment or a review-only import stage before anything reaches a live payroll run.
- An approved mapping and cutoff rule: Ask the payroll owner to define which hours are payable and when they become final. The non-obvious gotcha: a project’s billable status is not a payroll approval rule. Do not treat non-billable work as unpaid time.
The instructions below use descriptive field names, not claimed Mesh App button names. Follow the documented controls in your installed systems; do not build the workflow around an assumed menu, connector, or trigger.
Transfer contract
Define the payroll record
- Obtain the payroll import specification from the person responsible for payroll processing. Confirm whether the destination accepts individual time entries, daily totals, or totals for the pay period.
- Write a mapping sheet with these headings: Source value, Payroll field, Transformation, and Validation. These are headings for your implementation document, not software interface labels.
- Map each worker to the payroll system’s employee identifier. Do not use a display name as the matching key: names can change, and different employees can share a name.
- Define the required treatment of work dates, durations, time categories, and project references. Include project information only when payroll accepts it and has a reason to use it.
- Assign an owner to each mapping decision. Employee matching belongs with the payroll owner; project context belongs with the operational owner. Resolve disagreements before exporting records.
Expected result: You have a written record definition that the payroll owner accepts. Every required destination field has either a source value or an explicitly approved transformation.
Keep the mapping narrow. A payroll handoff does not need every contact, project, invoice, or finance field available in the source platform. Sending fewer fields makes the transfer easier to inspect and limits unnecessary employee information in intermediate files.
Define duration and calendar rules
- Confirm the destination’s required unit: minutes, decimal hours, or a formatted duration. Record the unit beside the mapping rather than relying on how a value looks.
- Define the pay-period boundary and the date used to assign a record to that period. Resolve overnight work with the payroll owner instead of automatically assigning everything to the start date.
- Confirm where rounding occurs. Apply the approved rule at the agreed stage, then preserve the original duration for reconciliation.
- Record the agreed timezone and date format in the transfer specification. If your business operates across Austria, Germany, or Switzerland, document the applicable payroll rules with the responsible payroll specialist.
Expected result: The same source record receives the same duration and period assignment on every transfer.
For the 2026 mapping sheet, include a simple conversion check: 90 minutes equals 1.5 hours, not 1.30 decimal hours. This is a unit conversion, not a payroll rounding policy. Keep the two decisions separate.
Approval and batch boundaries
Establish the eligibility rule
- Define which records are eligible: the correct worker, the correct pay period, and approval under your agreed process.
- Separate eligible records from drafts, disputed entries, and records outside the current period. If the transfer route cannot filter reliably, create the reviewed export set before sending it onward.
- Establish a cutoff after which edits require an explicit correction process. A closed batch must not silently absorb later changes.
- Assign 1 batch identifier to each reviewed transfer set. Preserve the identifier with the exported records, the approval evidence, and the receiving system’s result.
- Record who approved the set and when. Use your documented review process rather than assuming a particular approval feature exists in the source software.
Expected result: You can explain why every exported record belongs in that batch and identify the person who approved it.
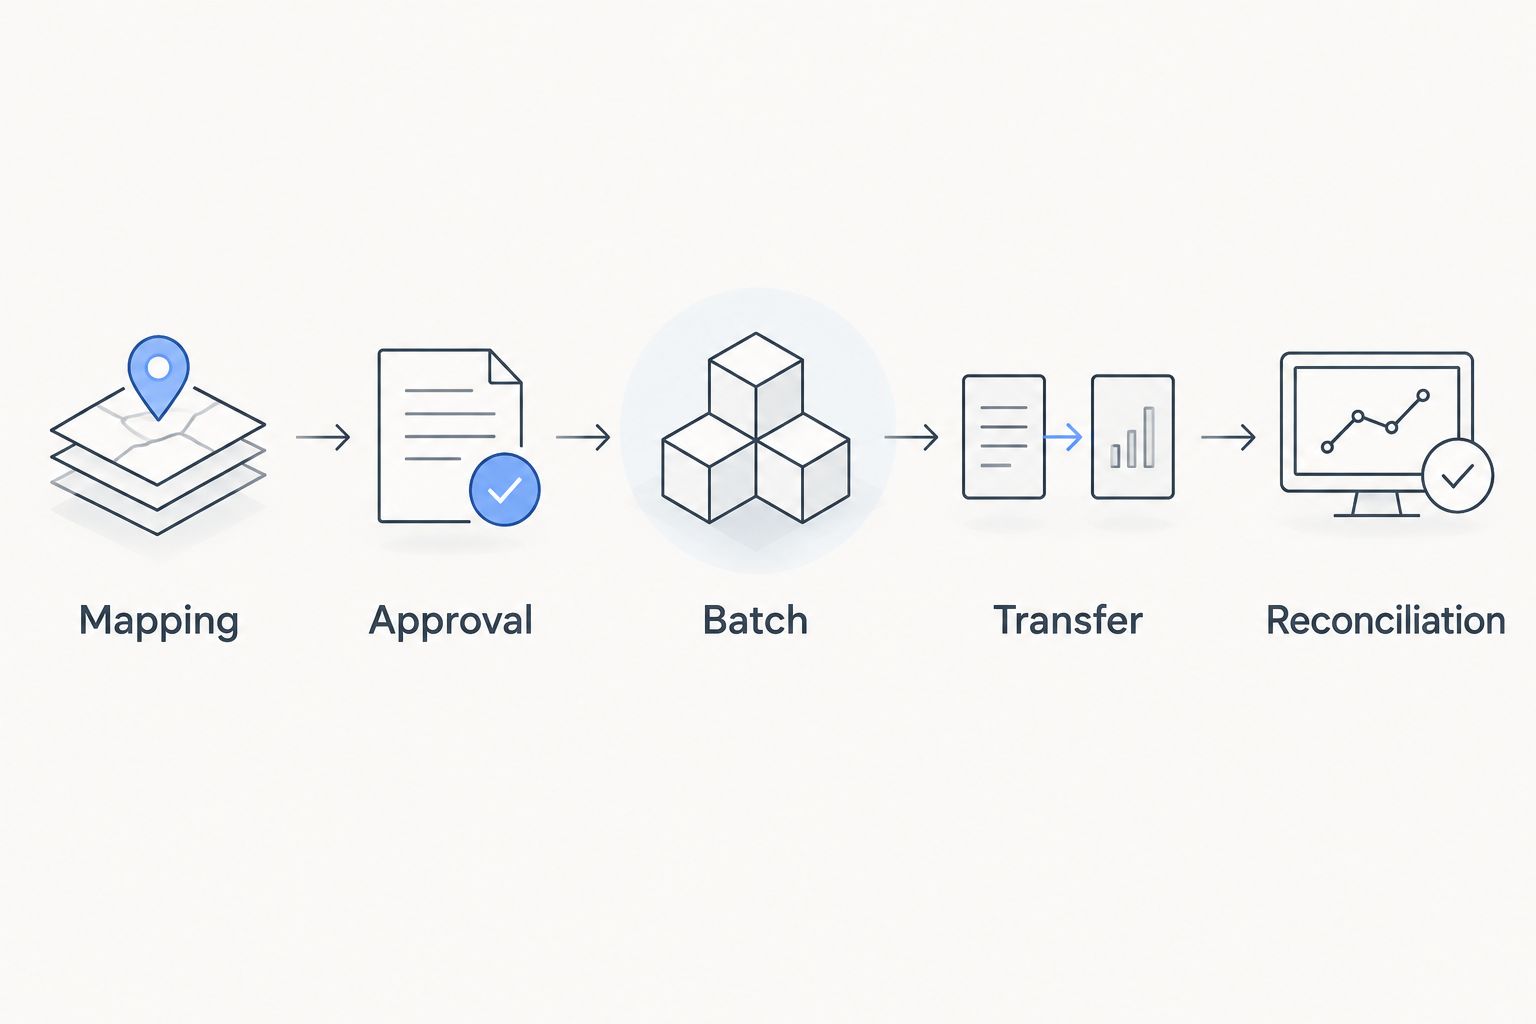
The workflow has a simple sequence: prepare the mapping, review the hours, create the batch, transfer the records, and reconcile the result. Automation belongs after the review gate, not before it.
Preserve an audit trail
- Retain a snapshot of the approved source records. Keep it separate from a live view that changes when someone edits a timesheet.
- Save the mapping version used for the batch. A later mapping change must not alter your explanation of an earlier transfer.
- Store the transfer result beside the batch record, including rejected rows and unresolved exceptions.
- Restrict access to exported employee data and apply your organisation’s retention rules. Do not leave payroll handoff files in shared project folders without an access decision.
Expected result: A reviewer can reconstruct the transfer without depending on someone’s memory or the current state of a timesheet.
Transfer route and validation
Configure the verified route
- Check the documented source output against the payroll import specification. Confirm required fields, supported units, and the treatment of empty values before connecting anything.
- Choose a documented file-based or integration-based transfer route that satisfies that contract. If neither supports the required information, retain a reviewed manual handoff rather than automating an incomplete record.
- Configure the transfer to accept only the approved batch. Keep draft entries and unrelated periods outside its scope.
- Define how the destination recognises an already received record. Use its supported duplicate-prevention or update mechanism; do not assume that sending the same row again replaces it.
- Route failures to a named owner. Keep a record of which rows succeeded so a retry does not resend the entire batch without checking.
Expected result: The route has a documented input, a controlled destination, and a repeatable response to both success and failure.
For a 2026 deployment, separate connection success from payroll acceptance. A successful file upload or connector response proves that a transfer happened; it does not prove that employee matching, duration conversion, or time classification is correct.
Test before scheduling
- Prepare 3 test records: an ordinary approved entry, an entry that exercises your duration conversion, and a correction to an already reviewed entry. Use non-production data wherever your systems permit it.
- Inspect the receiving records individually. Confirm employee identity, work date, duration, category, and period assignment against the mapping sheet.
- Submit the same test batch again in the controlled test process. Verify that the destination handles the repeat according to its documented behaviour rather than creating unnoticed duplicates.
- Run 2 review passes: one by the person responsible for source hours and one by the payroll owner. Each reviewer checks the part of the transfer they own.
- Reconcile totals by employee and pay period, then inspect any difference at record level. Enable scheduling only after rejected rows and unexplained differences are resolved.
Expected result: The payroll owner accepts both the imported values and the workflow’s behaviour on repeats and corrections.
Review Mesh App for your workflow
Assess the time-tracking platform against your payroll handoff requirements.
A second variant: transfer approved updates
A scheduled batch and an update-driven transfer solve adjacent problems. Choose based on your payroll process, not on which automation sounds more advanced. Neither option removes the need for approval or reconciliation.
| Workflow | Best for | Advantage | Limitation |
|---|---|---|---|
| Scheduled approved batch | Teams working to a defined payroll cutoff | Creates a clear review set and period boundary | Changes after cutoff need a separate correction process |
| Approved update transfer | Teams whose verified route supports changes and destination updates | Sends accepted changes without rebuilding every batch | Requires reliable record identity, change detection, and correction handling |
Use a scheduled approved batch when payroll needs a fixed submission set. It gives the payroll owner a defined object to review. The cost is an explicit process for late edits.
Use an approved update transfer only after confirming that the source route exposes the relevant changes and the destination can apply them correctly. Triggering on every timesheet edit is not the same as triggering on an approved change.
- Define which approved changes qualify for transfer, including whether corrections to closed periods require separate authorisation.
- Preserve the destination’s record reference after the original transfer, where the documented route supports it.
- Send the correction using the receiving system’s supported method. Do not assume an update can be represented by another ordinary hours row.
- Reconcile the corrected result against both the previous accepted value and the newly approved value.
For your 2026 update workflow, distinguish a new record, a changed record, and a cancelled record. Each needs a defined outcome before automatic processing starts.
Troubleshooting
The import rejects an employee
Compare the exported employee identifier with the receiving payroll record. Fix the mapping at its source, then retry only the affected records under the destination’s documented retry process. Do not solve an identity mismatch by changing the employee’s display name.
Payroll shows too many hours
Check for duplicate submissions before changing durations. Compare the batch identifier and record references with previous accepted transfers. If duplicates exist, use the payroll system’s approved correction process rather than inserting negative hours without authorisation.
The totals differ between systems
Compare raw duration units, rounding stages, and period boundaries. A total can differ because one system includes a record the other excludes, even when every individual conversion is correct. Reconcile by employee and period before reviewing the overall total.
A corrected timesheet does not change payroll
Check whether the workflow supports updates or only new submissions. Follow the documented correction route for the receiving system. If payroll is already closed, obtain the payroll owner’s decision before transferring the change.
A transfer stops partway through
Separate accepted rows from rejected or unsent rows using the destination’s result record. Retry only the unresolved set when the route supports that approach. If acceptance cannot be determined, stop the retry and investigate before risking another submission.
Customize your workflow
Once the basic handoff passes review, expand the mapping only for a defined payroll need. Add project or department context when the receiving system accepts it and the payroll owner uses it. More exported fields are not automatically more useful.
Keep customer billing separate from employee payroll. Both workflows can start from tracked time, but they have different eligibility rules and review owners. A billing correction must not silently become a payroll adjustment.
For your 2026 operating procedure, document the batch owner, backup owner, cutoff, exception route, and reconciliation evidence. Test the transfer again whenever a mapping, import format, or connection method changes.
FAQ
Can I automatically send Mesh App hours to payroll?
Automatic transfer requires a verified source export or integration route and a compatible payroll destination. Confirm the field mapping, approval gate, and correction behaviour before enabling the workflow.
Does time tracking approval mean the hours are ready for payroll?
Only approval under your agreed payroll process makes hours eligible for transfer. Project completion or billable status does not establish that the payroll owner has accepted them.
Should I export individual entries or pay-period totals?
Use the record structure required by the receiving payroll system. Keep entry-level evidence for reconciliation even when payroll receives aggregated totals.
What is the best trigger for a payroll export?
A scheduled approved batch is best when payroll uses a fixed cutoff. An approved update trigger fits only when the verified route and destination support changes reliably.
How do I stop the same hours being imported twice?
Use the destination’s documented duplicate-prevention mechanism and retain batch and record references. Test a repeated submission before scheduling production transfers.
Can non-billable project hours still belong in payroll?
Yes, non-billable work can still be payable employee time. Apply the payroll eligibility rule separately from the customer billing rule.
What should I check before the first live payroll transfer?
Check employee identifiers, dates, duration units, categories, approvals, and duplicate behaviour. Reconcile the receiving totals and obtain the payroll owner’s acceptance before live submission.
One last thing
Test a correction before trusting the first successful export. A clean initial import proves only the simplest path. Repeating a batch and changing an accepted record reveal whether the workflow can handle the exceptions that matter at payroll cutoff.